Showing posts with label wedding guest dress. Show all posts

Tuesday, January 17, 2012

Long Weekend

I'm back, well I was back yesterday from Jim Thorpe, but we still had our friends staying with us.  It was a great long weekend with a lot of events.  Our first event was a student of mine's Birthday.  He was my student at the camp I worked at and lest summer he was old enough to come back and work on staff. 


I got to see some friends that I hadn't seen in awhile and catch up with another one of my old students who goes to school in Boston. We had dinner at Bucca di Beppo.  


We sat in the Pope room at the restaurant.  There was a bust of the pope on a lazy susan in the center of the table.  We played spin the pope a lot during dinner. 


Other than all the pope pictures the food was yummy and the company was great.  
Then on Saturday our friends from Boston came down for our friends wedding in Jim Thorpe.  It was great to see them and Simon and I were excited to spend time with them.  


The wedding was beautiful and the food was amazing.  It was from the catering company that uses all local produce and meat.  They had the best crab cakes I have ever eaten in  my life.  The reception is where I took most of the pictures.  


The bride's dress was beautiful and almost like a sculpture with all the draping and crinolines.  It was reminiscent of butter cream frosting.  (Oh, by the way the cake was amazing!)


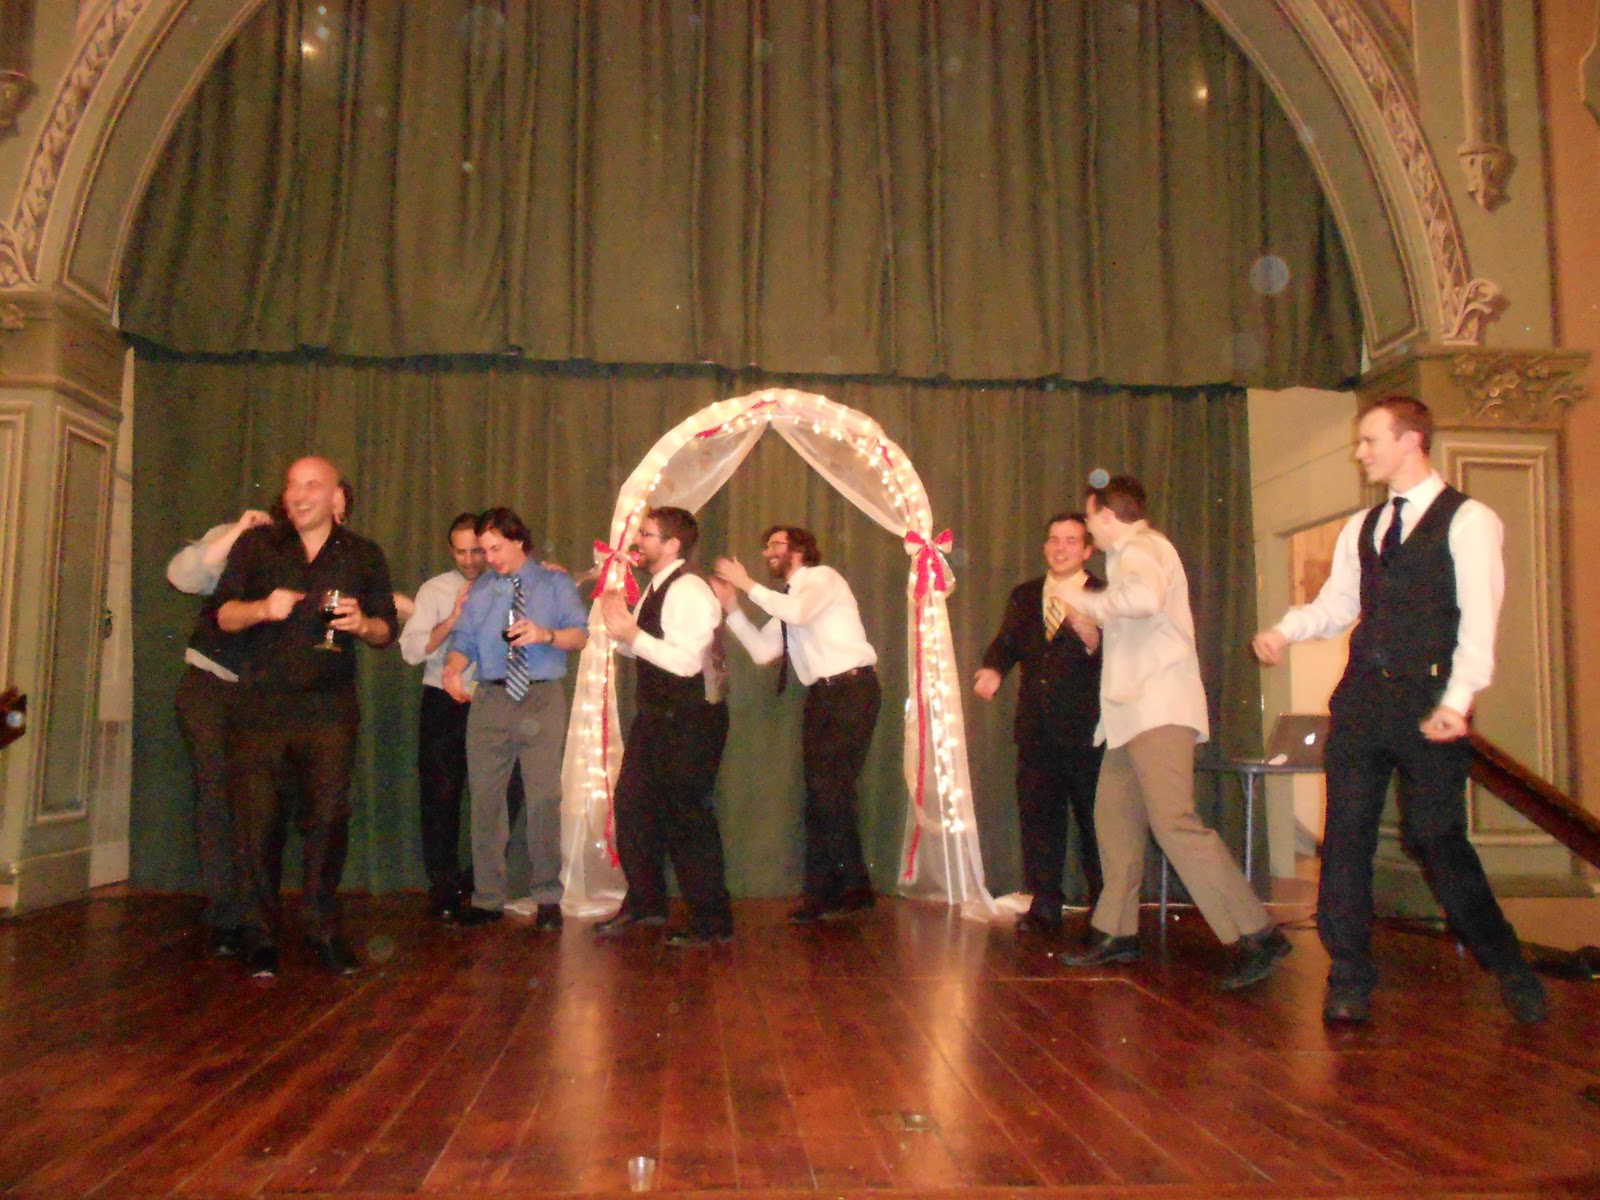
This photo has a great story.  Our friend Josh was the DJ and he played raining men and all the guys we are friends with got up and danced on the small stage in the reception hall.  It was hilarious.  


It was a great party.  I was so caught up with all the fun I forgot to have Simon take a picture of my dress.  I will have to have a photo shoot or see if any of my friends have on of me wearing my dress.  (The dress came out perfect and it fit like a dream!)

Now I am looking forward to sitting around on in my living room, watching some netflix and knitting.  


Thursday, January 12, 2012

Wedding Guest Dress Part IV

I am in the home stretch of this dress project.  The midriff section is attached, gathers and all.


I tried a new way to sew my gathers and really liked it.  To accomplish this you sew two lines of basting stitches between your marks.  Then using your sewing machine set at the widest stitch setting, sew two parallel seams.  Then when it's time to gather the section you just pulled on the bobbin threads to pull the fabric in.


It needs a good pressing, but in time.  There is still much more to do before a final steam is in order.


I also basted the skirt and the lining together.  Mostly to make my life easier.  This fabric is slippery and slides around quite a bit using a ridiculous amount of pins help but so does basting.


Once everything was attached I pinned the midriff lining down to the skirt lining. There will be some serious blind stitch going on there.


All the pieces are sewn and now its just a lot of finishing work, but I have a few more days and not too much to do.  Here is what is left to do on the dress:
1. Blind stitch the midriff lining to the skirt lining
2. Set in the zipper
3. Slip Stitch the facing to the lining
4. Hem the skirts.

Not to bad.  I plan on sewing the midriff and the zipper today and that leaves me just the hem and the facing for tomorrow.

Wednesday, January 11, 2012

Wedding Guest Dress Part III

I am making head way on my dress and have completed what I consider one of the hardest parts of the construction of this dress the bodice.  Now there are a lot more complicated bodices out there in the world, but this one is fully lined and I decided to sew in a facing so that the edges looked clean and were the same color fabric as the dress.  There is a great tutorial on Burda Style that shows you how to Sew an All-In-One Facing. This is the method I used to sew my bodice together.


First I hand basted my lining and my fashion fabric together.  This part allowed me to catch up on some TV on Hulu, but that's where the easy ended.


Next I sewed the facing to the bodice with right sides facing.  Following the directions on the tutorial from Burda Style I left about two inches un-stitched from the top of my straps. Trim your seam allowances to reduce bulk and under stitch the neckline and under the arms.  This will help the facing and the seam allowance stay to the inside.


This is the tricky part that involves you being very careful and aware of what is going on with your pattern.  You have to turn the front straps right side out while leaving the back straps inside out.  Make sure you read through the tutorial before you start and have it bookmarked or open in a window while you work so you can reference it.  But this is where the magic of this technique starts to happen. 


Following the tutorial I then sewed the back facing to the front facing and did the same with the bodice pieces.  This is a bit weird since one strap is inside our the other and I suggest taking your time and a quiet part of the day so you don't rush through this part.  


Once sewn your piece will look something like this.  Press the seam as best you can.  I had a bit of trouble with my facing not lining up right with the bodice piece.  I had too much fabric some how on the facing.  After some seam ripping and re-stitching I was able to get rid of the excess and get  my top shoulder seams to line up. 


During this section I had to be mindful of a few things:
1. Make sure not to sew through the strap that is inside.  I was only sewing through 3 layers of fabric at all times (fashion fabric, lining, and the facing).  Or this was going to end in disaster.
2. Make sure I started my seams about a 1/4 inch from before my first facing seams ended
3. Watch my seam allowance.


Here is the finished seam.  This is of the lining side as there is more contrast and you can see the seams better.  Press the seam allowances.  Now is the part with the magic!  Turn everything right side out!


And there you have it!  An all in one facing!  This is a great technique and the tutorial on Burda style explains  it wonderfully with lots of pictures and descriptions.  I'll be putting this one in my sewing tool box.   

Wednesday, January 4, 2012

Wedding Guest Dress Part II

After much deliberation and back and forth I decided to make the facing.  It's a bit more work, but I think the result will look a lot better than my original idea.  Thanks goodness for Coletterie's post on How to Draft a Facing.


It's actually quite simple just a bit time consuming. A lot of tracing and measuring.


The back facing was pretty straight forward.  Nothing too crazy here.  But the front piece was a different story.


I had to deal with pleats that I did not want to have to sew into my facing, but I think I got a handle on it.


I marked my pleats on to the facing piece and "pleated" my facing.  I used tape to hold down the pleats and voila a facing for the neckline of the dress that doesn't require pleating.


This technique was pretty easy to execute, and I am pretty happy with my results.


I even got the facings cut out and I started work on my dress's bodice.  The pleats are complete and I even staystitched the neckline of the bodice.


I started on the bodice lining, but I realized that I forgot to get hot pink thread at the fabric store, so the lining only got as far as getting pined.


The wedding is on the 15th and if I do a chunk of the dress every day I should be done with more than enough time to spare.  The next few days will be the easy stuff like sewing a lot of straight seams.  I'll post the more interesting stuff when I get to it.

Tuesday, January 3, 2012

Wedding Guest Dress Part I

Here it is the dress I am making for the Wedding I am attending in about two weeks.  I've made this dress before, but this time I am going to be making view A.  When I made it the first time I made version C, but with out sleeves.


I went Fabric shopping before the holidays and fell in love with this amazing navy low sheen satin.  I went back before the new year and bought enough to make this dress.


I had one small problem, the lining.  This dress is fully lined, but I couldn't find a lining fabric that matched the purple blue color of the satin.  To remedy this I decided to line the dress in a contrasting color and I found one that made the blue pop, even if no one will see it I'll know that my dress is lined in Hot Pink.


I am considering making a facing in the blue so that the pink doesn't poke out from the top of the bodice.  All my pieces are cut and ready to go.  Now it's time to get sewing!