Tuesday, January 10, 2012
Technique Tuesday: Applied I-Cord Bind Off
This is a great way to add a little interest to a bind off edge and is great for really any project from the bind off edge of a lace project to the cuff of a sleeve. Another thing that is useful is that this type of bind off creates a tube with you can use as the casing for elastic or a draw string.
When you come to your bind off you are first going to cast on 3 stitches using the backward loop method.
Next you will K2, SSK. This way you are always decreasing a stitch in your bind off row.
Slip the last three stitches from the right hand needle back to the left hand needle
Repeat this method till you have one stitch left on your original bind off row.
Bind off the I-cord as follows, Knit 2 pass first stitch over the second, SSK, pass the second stitch over the third stitch of the bind off pass yarn through loop and pull tight. Weave in ends.
Labels:
bind off,
Blue Betty,
I-cord bind off,
Knit,
Knitting,
technique Tuesday
Monday, January 9, 2012
Me vs. The Bridesmaid Dress
That's right me vs. the bridesmaid dress. My friend Jo is a bridesmaid in the wedding this upcoming Sunday (you know the one I just decided to sew a dress for) and she needed her dress hemmed. She was very luck that this was the only alteration she needed for her dress. It fits her great everywhere except in the length. Like me Jo isn't short but we are by no means tall. I was confident I could hem this dress. I mean it's just a hem and so what if its a full skirt that's no big deal. Then I saw the dress.
Here is said dress, here is the link to the dress on David's Bridle, just in case you wanted a better look. From the photos online I thought this was going to be a straight forward baby hem. I even brushed up and practiced baby hems. There is a great baby hem tutorial on Burda Style.
I went over to do a fitting with Jo and found out that not only is there an underskirt there is a crinoline attached and the dresses skirt was a weird funky hem in the back so that all the gathers fall just so. Even with heels on I still needed to take about 2 inches off the bottom of the dress and address the weird hemline.
Here's the crinoline, I only had to take one inch of the underskirt. The Tulle was fine where it was. The underskirt also behaved very well no problem there as the fabric and hem on that wasn't cut and hemmed in weird petal point looking things.
See easy peasy. I sewed a quick hem and then trimmed the excess off of the under skirt folded the hem up again pressed and stitched the baby hem in place. I finished the two under skirts in about an hour and a half. Not to shabby for the skirt bring about 6 feet in diameter. Here is where I took a break decided it was better to finish the dress after some lunch and a cup of coffee.
Here is said dress, here is the link to the dress on David's Bridle, just in case you wanted a better look. From the photos online I thought this was going to be a straight forward baby hem. I even brushed up and practiced baby hems. There is a great baby hem tutorial on Burda Style.
I went over to do a fitting with Jo and found out that not only is there an underskirt there is a crinoline attached and the dresses skirt was a weird funky hem in the back so that all the gathers fall just so. Even with heels on I still needed to take about 2 inches off the bottom of the dress and address the weird hemline.
Here's the crinoline, I only had to take one inch of the underskirt. The Tulle was fine where it was. The underskirt also behaved very well no problem there as the fabric and hem on that wasn't cut and hemmed in weird petal point looking things.
See easy peasy. I sewed a quick hem and then trimmed the excess off of the under skirt folded the hem up again pressed and stitched the baby hem in place. I finished the two under skirts in about an hour and a half. Not to shabby for the skirt bring about 6 feet in diameter. Here is where I took a break decided it was better to finish the dress after some lunch and a cup of coffee.
This shot I took you can see the mound of dress sitting in the chair next to the table I was sewing on.
So after my second cup of coffee and some tasty lunch I was ready. In my head I was thinking "this will be easy I just spent the last hour and a half perfecting my baby hem on the underskirts I totally got this." Well the dress had other ideas. The dress is sewn in panels and the front panels behaved well and gave me no trouble. When I got to the back of the dress where the weird petally hem was the dress decided it would have none of my hemming business. It took me 45 minuets just to get the hem to lay right so I could press and pin for the first hem.
Here in this shot you can see the how the hem wouldn't lay right I had to iron and re-iron the hem so many times to get the creases out. I finally won that battle and sewed around the skirt, trimmed the excess and started to fold and press the final baby hem in place. The dress still was putting up a fight and it took another 30 minuets to just get the baby hem to lay flat, but once the dress realized there was no alternative but to be hemmed it finally succumbed to my sewing machine.
The total time spent on hemming the dress: 3 hours and 15 min.
The total time spent on just the skirt: 1 hour and 30 min (the same amount of time it took to do both underskirts).
Injuries: One pin stab in the left index finger.
I did get a very nice bottle of red wine for my battle, which was an unexpected reward.
Labels:
alterations,
baby hem,
Blue Betty,
Dress,
dress alterations,
hemming
Friday, January 6, 2012
Vintage Finds Friday: Sewing
I have been at my sewing machine this whole week and it looks like I will be doing the same next week. This weekend I also start teaching Fashion Design: Introduction to Fashion and Refashioning at the AAI in Philly. With all of this sewing going on what a better way to celebrate it with the return of Vintage Finds Friday with vintage sewing paraphernalia!
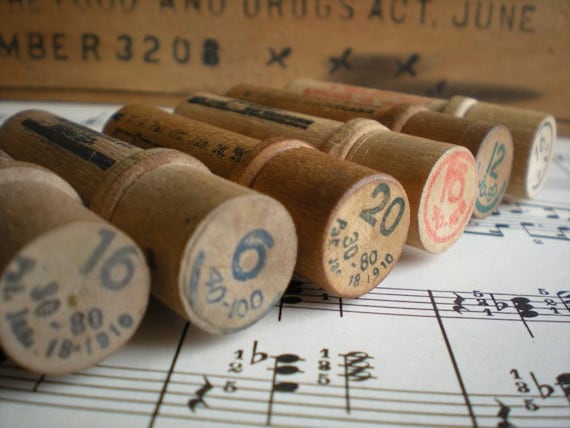
13 Vintage Wooden Spools of Thread
TheLittleQuiltShoppe
|
Wooden Needle Case for Sewing Treasures
treasurebooth
|
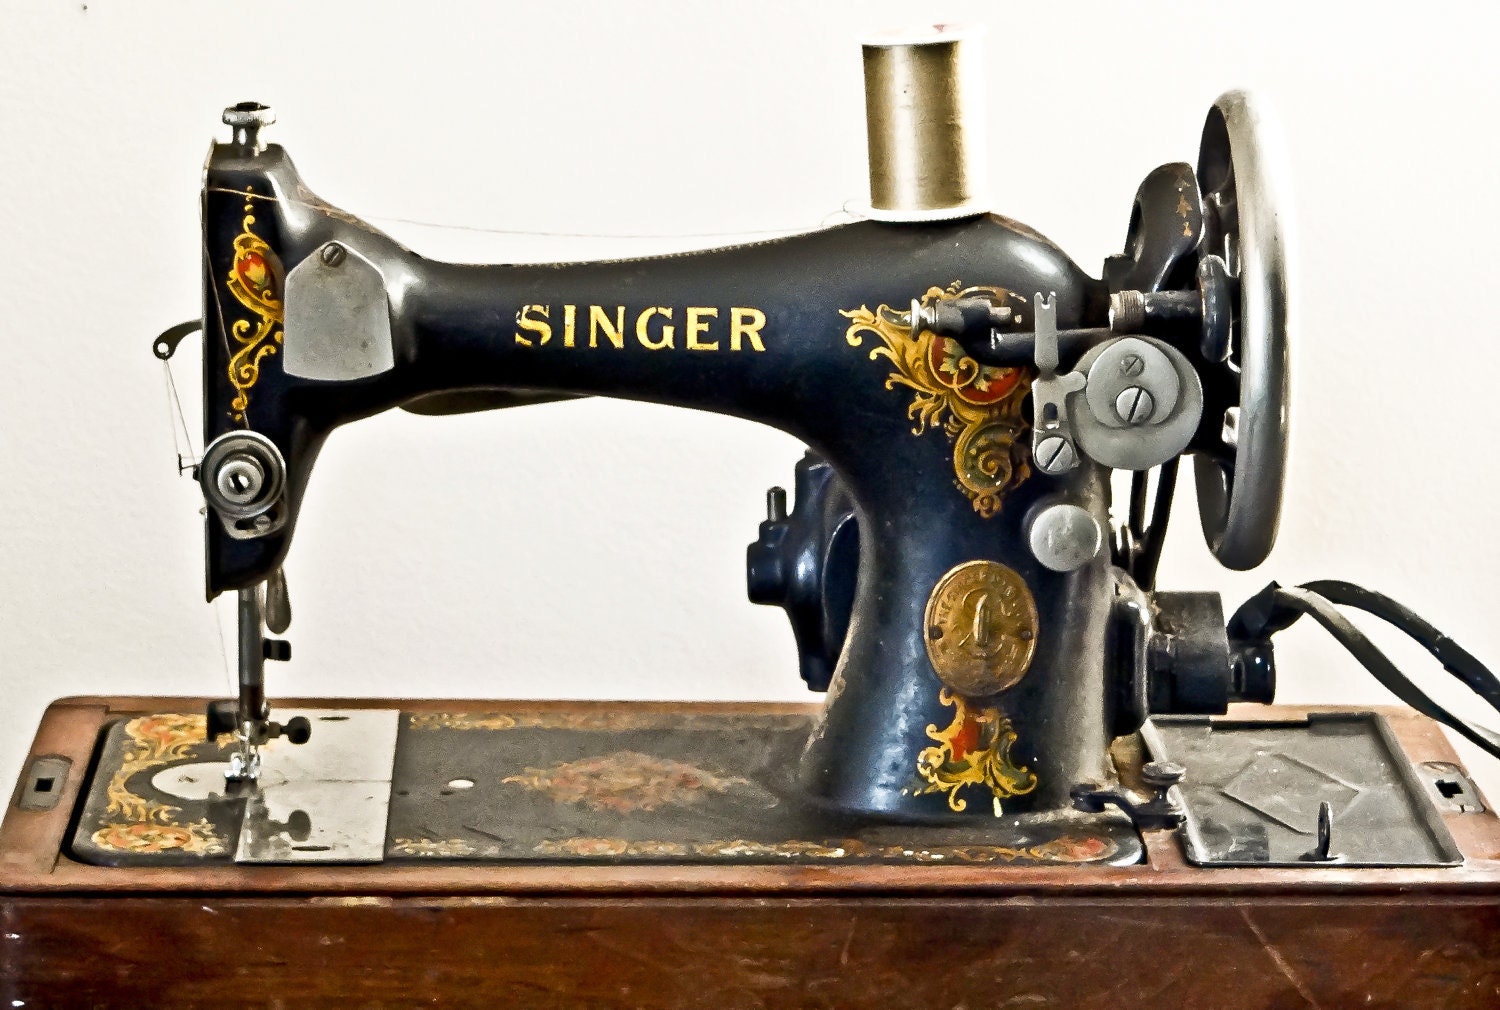
1922 Singer Sewing Machine Model 128
Wallchatter
|
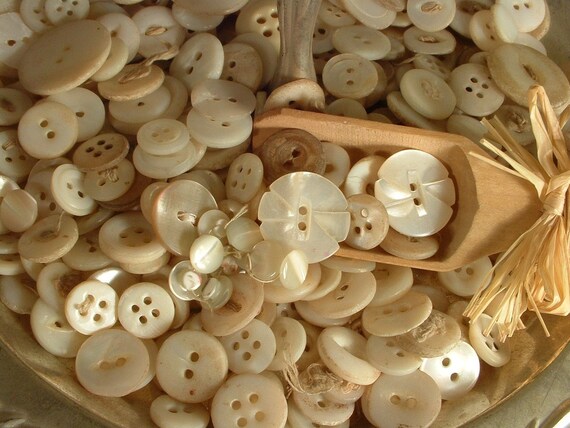
Mother of Pearl Buttons
AmoreTreasure
|
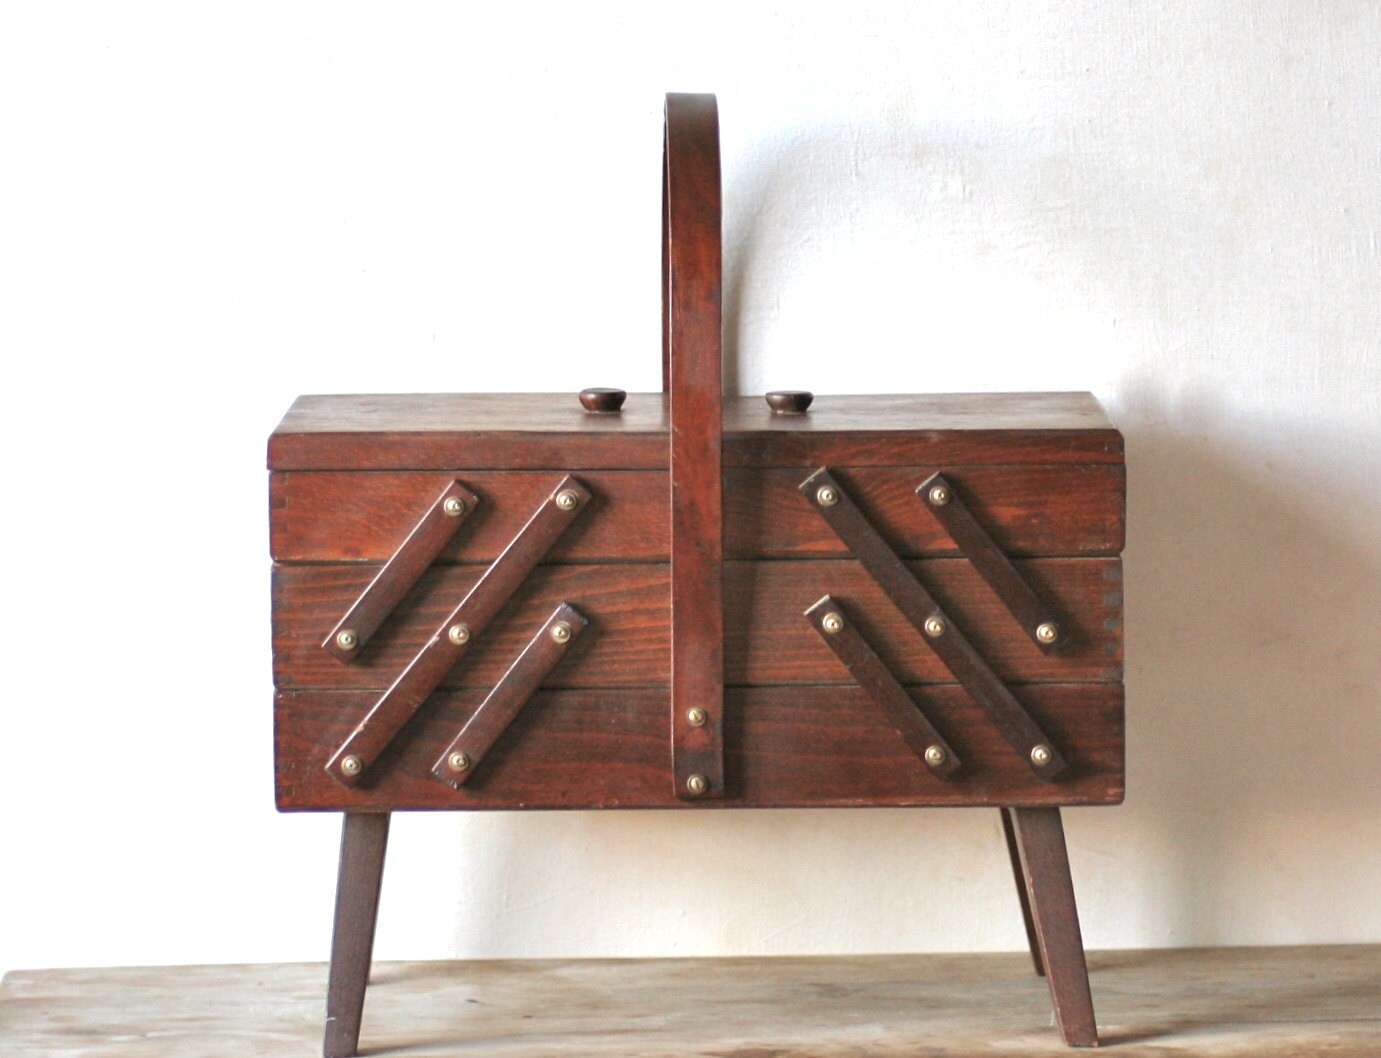
Dovetail Wooden Fold Out Sewing Cabinet
IvoryBird
|
Thursday, January 5, 2012
Stitch Guide: Basket Weave
This is a simple stitch pattern made up of knits and purls that gives you a woven look to your knit. Basket weave is a reversible stitch that lies flat with out having to block it. It's great for scarves and blankets or anything else you would see both sides of.
Basket Stitch (Worked Flat)
Multiple of 4
R1: K4, P4
R2: P4, K4
R3: K4, P4
R4: P4, K4
R5: K4, P4
R6: K4, P4
R7: P4, K4
R8: K4, P4
R9: P4, K4
R10: K4, P4
Basket Stitch (Worked in the Round)
Multiple of 8
R1-5: K4, P4
R6-10: P4, K4
Labels:
basket weave,
Blue Betty,
knit stitch,
Knitting,
stitch,
stitch guide
Wednesday, January 4, 2012
Wedding Guest Dress Part II
After much deliberation and back and forth I decided to make the facing. It's a bit more work, but I think the result will look a lot better than my original idea. Thanks goodness for Coletterie's post on How to Draft a Facing.
It's actually quite simple just a bit time consuming. A lot of tracing and measuring.
The back facing was pretty straight forward. Nothing too crazy here. But the front piece was a different story.
I had to deal with pleats that I did not want to have to sew into my facing, but I think I got a handle on it.
I marked my pleats on to the facing piece and "pleated" my facing. I used tape to hold down the pleats and voila a facing for the neckline of the dress that doesn't require pleating.
This technique was pretty easy to execute, and I am pretty happy with my results.
I even got the facings cut out and I started work on my dress's bodice. The pleats are complete and I even staystitched the neckline of the bodice.
I started on the bodice lining, but I realized that I forgot to get hot pink thread at the fabric store, so the lining only got as far as getting pined.
The wedding is on the 15th and if I do a chunk of the dress every day I should be done with more than enough time to spare. The next few days will be the easy stuff like sewing a lot of straight seams. I'll post the more interesting stuff when I get to it.
It's actually quite simple just a bit time consuming. A lot of tracing and measuring.
The back facing was pretty straight forward. Nothing too crazy here. But the front piece was a different story.
I had to deal with pleats that I did not want to have to sew into my facing, but I think I got a handle on it.
I marked my pleats on to the facing piece and "pleated" my facing. I used tape to hold down the pleats and voila a facing for the neckline of the dress that doesn't require pleating.
This technique was pretty easy to execute, and I am pretty happy with my results.
I even got the facings cut out and I started work on my dress's bodice. The pleats are complete and I even staystitched the neckline of the bodice.
I started on the bodice lining, but I realized that I forgot to get hot pink thread at the fabric store, so the lining only got as far as getting pined.
The wedding is on the 15th and if I do a chunk of the dress every day I should be done with more than enough time to spare. The next few days will be the easy stuff like sewing a lot of straight seams. I'll post the more interesting stuff when I get to it.
Labels:
Blue Betty,
Dress,
dress making,
Sewing,
sewing project,
wedding guest dress
Tuesday, January 3, 2012
Wedding Guest Dress Part I
Here it is the dress I am making for the Wedding I am attending in about two weeks. I've made this dress before, but this time I am going to be making view A. When I made it the first time I made version C, but with out sleeves.
I went Fabric shopping before the holidays and fell in love with this amazing navy low sheen satin. I went back before the new year and bought enough to make this dress.
I had one small problem, the lining. This dress is fully lined, but I couldn't find a lining fabric that matched the purple blue color of the satin. To remedy this I decided to line the dress in a contrasting color and I found one that made the blue pop, even if no one will see it I'll know that my dress is lined in Hot Pink.
I am considering making a facing in the blue so that the pink doesn't poke out from the top of the bodice. All my pieces are cut and ready to go. Now it's time to get sewing!
I went Fabric shopping before the holidays and fell in love with this amazing navy low sheen satin. I went back before the new year and bought enough to make this dress.
I had one small problem, the lining. This dress is fully lined, but I couldn't find a lining fabric that matched the purple blue color of the satin. To remedy this I decided to line the dress in a contrasting color and I found one that made the blue pop, even if no one will see it I'll know that my dress is lined in Hot Pink.
I am considering making a facing in the blue so that the pink doesn't poke out from the top of the bodice. All my pieces are cut and ready to go. Now it's time to get sewing!
Labels:
Blue Betty,
Dress,
dress making,
Sewing,
sewing project,
wedding guest dress
Monday, January 2, 2012
Happy New Year
Happy New Year to all my Blue Betty Blog readers! This week is the start of the new year on the blog as well as in my shop. I can't wait to get started and for all of you to see what is in store for 2012.
The end of the year culminated in an amazing game of broom ball. This is the second year we've gone and even though I fell pretty hard on the ice and bruised my knee, I can at least walk up and down stairs unlike last year. I guess going to the gym has been paying off.
Then Simon and I rung in the new year at our friends party down in South Philly. Good Bye 2011. Hello 2012.
Things I am looking forward to in 2012
-Starting Alchemy Hour
-Teaching Fashion Design
-My spring/summer designs
-Christmas 2012 in Oz!
The end of the year culminated in an amazing game of broom ball. This is the second year we've gone and even though I fell pretty hard on the ice and bruised my knee, I can at least walk up and down stairs unlike last year. I guess going to the gym has been paying off.
Then Simon and I rung in the new year at our friends party down in South Philly. Good Bye 2011. Hello 2012.
Things I am looking forward to in 2012
-Starting Alchemy Hour
-Teaching Fashion Design
-My spring/summer designs
-Christmas 2012 in Oz!
Subscribe to:
Posts (Atom)