I have to admit I have a pretty big sweet tooth sometimes and the holidays just seem to make it ten fold. My great aunt use to make fudge and when she stopped my mom started, now my mom is on a health kick and I see it as part of my holiday duty to keep the tradition alive. I've been making Christmas Fudge for about three years now and use the recipe my mom used which is to say I use the Fluff Never Fail Fudge recipe.
You can fin the recipe on their website and on the side of the jars of Fluff. This fudge is super easy to make I don't even use a candy thermometer that's how easy it is to make this fudge.
I am going to share my doubled recipe and a few tips for optimum fudge production. First off I make 5lbs of fudge every Christmas. This ensures that I have plenty to give away and a tiny bit left over for my nagging sweet tooth. This means I double the recipe found on the Fluff website. My ingredients list looks like this.
5 cups sugar
1 stick butter
10 oz of evaporated milk
1 large jar of Fluff (or 2 of the 7 oz jars)
Vanilla
2 12oz bags of semi sweet chocolate chips (I like Tollhouse, but any chip will do)
The directions are still the same, you are just working with twice the amount of ingredients. Before I start cooking my fudge I first line all of the pans that I will be pouring the fudge into with foil. This makes it easier to remove the fudge for cutting and makes clean up way easier. By doing this you will not have to worry about your fudge sticking to your pans.
I use a pretty big non stick pot to make my fudge in, the fudge will start to bubble and expand when you heat it so you want to make sure that you use a large pot so it doesn't bubble over. The pot I use is the same pot I cook pasta in. I start by heating up the butter till it's melted and then add in all the other ingrediants ending with the Fluff.
This is where is gets tricky. You need the sugar and everything to combine and liquify while not scorching on the bottom of the pot. You can't have the heat too low or the sugar will never get to temperature, but too high and you will burn the sugar. A way to avoid this is to constantly stir your sugar mixture. I use a sturdy silicone spatula and a constantly stir around the edge of the pot.
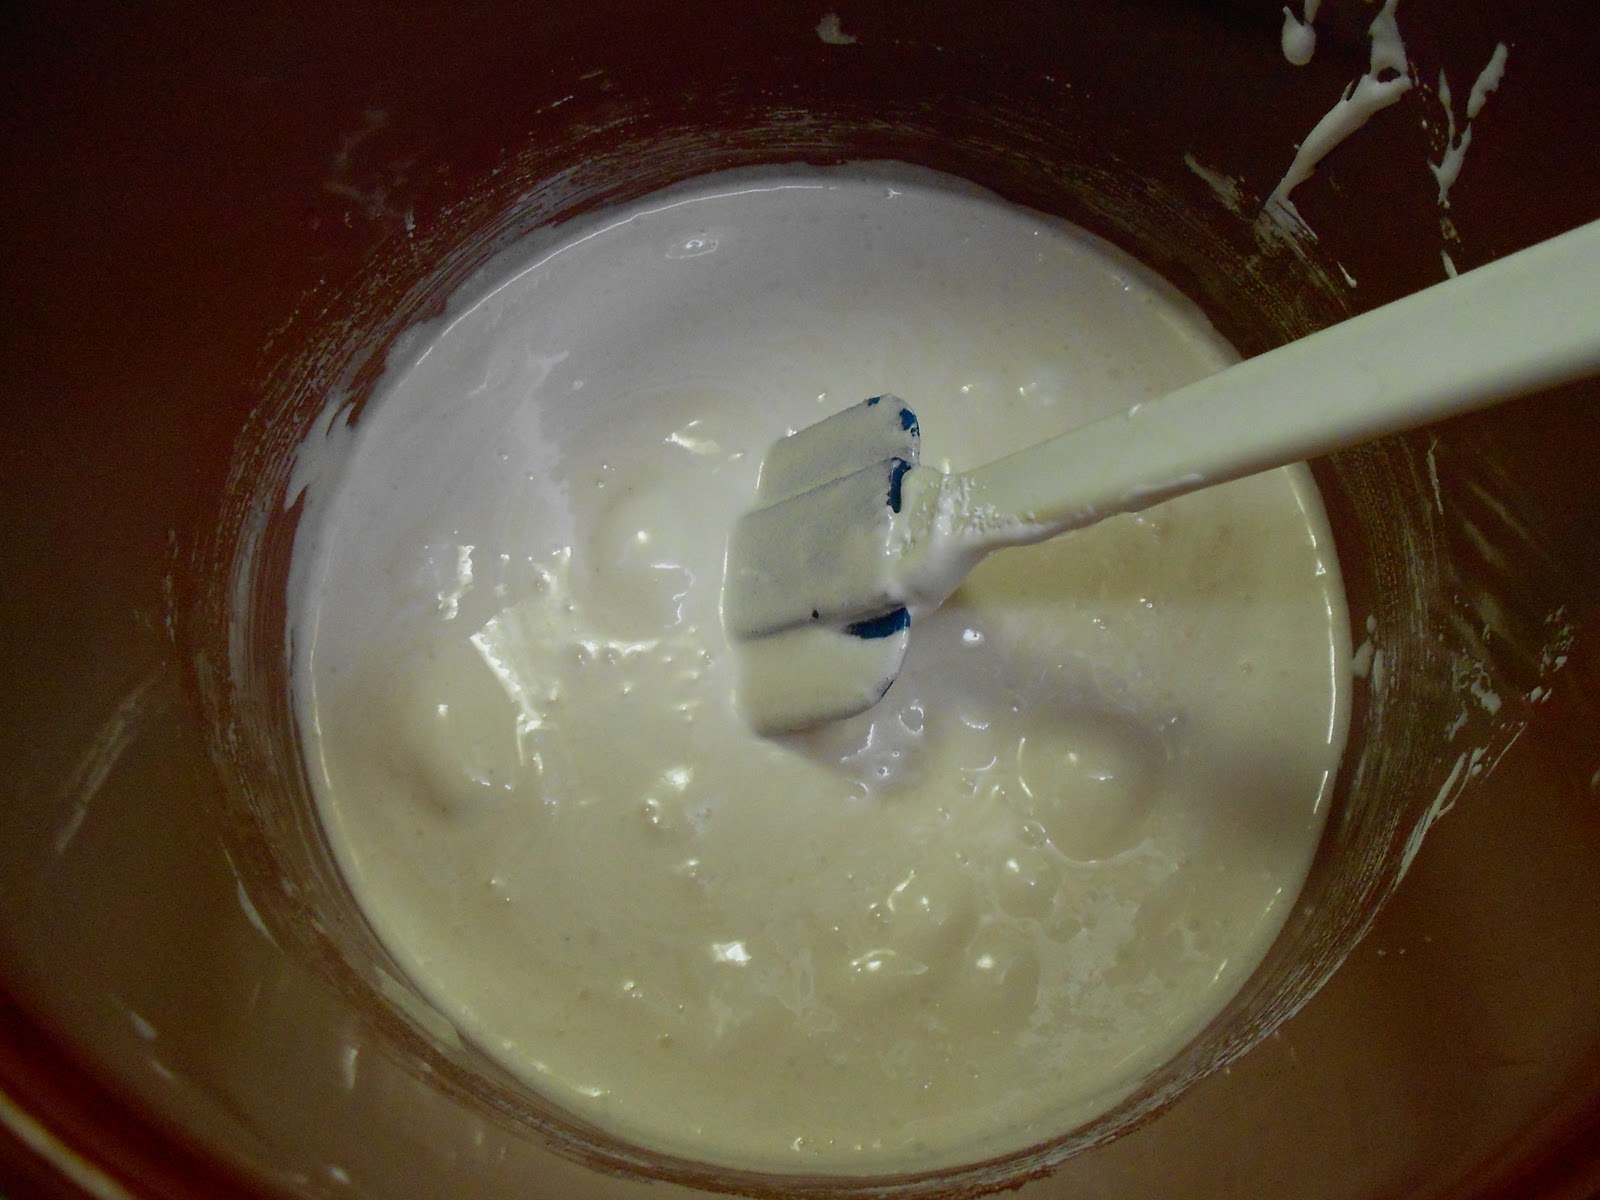
This is where some of the sugar may stick and you want to avoid that. When your sugar doesn't get to temperature and or sticks to the side of your pot you are left with grainy textured fudge.
Before I start I also set out a measuring cup of cool water, this is important to check the sugar mixture. This is why. About 3-5 min. in to the boiling of the sugar mixture I like to check its progress. Lift a small amount of the sugar mixture out of the pot with a spoon place the spoon directly in the cool water. The sugar should cool and you should be able to touch it. Roll it between your fingers if it is smooth and gummy it is finished, if it is lose and grainy you still need to keep heating it, if it is hard then it has gotten to hot. I've notice that it takes about 5 to 8 minuets for the sugar to reach temperature, but this is all relative to the batch and the conditions in your kitchen so test as you go.
When the sugar is at temp you will turn off the heat and start pouring the chocolate chips into the sugar along with the vanilla. I like to stir them in about a cup at a time, but you need to work fast because you want you fudge to stay hot so when you pour it it doesn't stick to your pot. Once all your chocolate is melted and stirred in pour on to your foil lined pans to let it cool. Now you can decided how thick or thin you want you fudge to be, but it all depends on the depth of your pan. When I make 5lbs of fudge I pour it so that it is about 1/2 inch thick. I use one 13"x8" pan and a 8"x8" pan to hold all of that fudge.
Let the fudge cool on a kitchen counter for a few hours. I don't place my fudge in the fridge till after it is cooled and cut. The one time I did that my fudge became crumbly and hard, my theory is that it cooled too quickly.
Cut into bite sized pieces and enjoy. I save the edges for Simon and I. The good center pieces get wrapped up and placed in pretty packages for gifts.
There is my fudge making tips, good luck!
Showing posts with label tips. Show all posts
Tuesday, December 13, 2011
Tuesday, October 18, 2011
Technique Tuesday: Tips for Knitting in the Round
I love knitting things in the round. Mostly because this mean no seaming which is a great reason to knit in the round. Although I didn't always start out loving circular knitting. This was because I am a self taught knitter I had no wise experienced knitter who could let me in on tricks and helpful hints. Here are some of my tips for knitting in the round.
1. Always make sure your circular needle/dpns are the right circumference for what you plan on knitting. I thought that a 24" circular was the perfect needle size for my first hat in the round so I filled it with as many stitches as it would hold, needles to say my hat came out huge, which was more of a gauge problem. So I then cast on the appropriate amount of stitches and there were too few to make it around the needle and I was pulling and stretching my stitches which made it hard to knit anything.
For a hat a 16" circular with do you good for baby hats all the way up to large adult size hat. With item that are smaller than 16" in circumference think about useing DPNS, magic loop, or two circular needles. Items such as sweaters you want to think about the smallest part of the sweater, I like to start on a 16" and then move up to a 24" or 26" when I need too. Depending on th esize of the sweater you may want to use a 36" circular.
2. Always use a stitch marker to mark the beginning and end of a round. This way you are never confused as to were you are to start and end which comes in handy if you are using a stitch pattern or are increasing or decreasing in a pattern.
2.2. Never stop at the end/beginning of a round. Your stitch marker will fall off your needle. Always try to stop with one stitch after or before your stitch marker.
3. Be careful not to twist your stitches. I read this all the time in patterns. Before you join your work take the time to make sure your cast on edge isn't twisted around your needle. An appropriate length needle is helpful, but you just have to suck it up and make sure that the cast on is oriented the same way before you place your maker and join your work.
4. Use a Long tail cast on. I know it's a pain when you miss judge the amount of yarn you need in your dead end, but this cast on tends to be more elastic and creates less of a jog where you join.
5. To help with the jog situation where you join your work cross your last and first stitch over and place your maker between them. This way your first stitch is now your last stitch and your last stitch is now your first stitch. This makes a tighter neater join.
These are all of my tips are there any more that others use?
Subscribe to:
Posts (Atom)