I made this belt for my purple shift dress. It was super easy and added that extra something to that dress that I thought I would share how I made this belt. It's not a true obi belt, but that was my inspiration to this project.
Materials:
*About a 1/2 a yard of a woven fabric (My green belt was duponi silk and the one I made for the tutorial is a heavy quilting cotton.)
* Thread
*Interfacing (If using a light weight fabric I suggest using a fusible interfacing for the middle section of the belt, but If you are using a heavier fabric the interfacing isn't necessary.)
Tools:
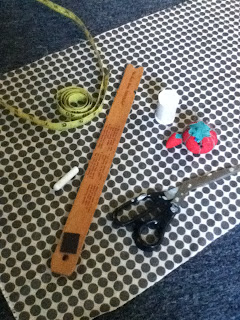
*Measuring Tape
*Ruler
*Chalk
*Scissors
*Pins
*Sewing Machine
Step One
Measure your fabric length and split that into thirds. If you want a wider belt you will need a longer piece of fabric. My green belt is about 3 1/2 inches wide so my thirds were all about 8 inches wide. The fabric I am using for this belt is only 16 inches long so I will be splitting it into 5 inch sections
Use your chalk and ruler to mark your fabric.
(If you are using interfacing you will want to cut a piece out that is the same length and width as one of the thirds of fabric)
Step Two
Cut your fabric into thirds and attach interfacing to one of the strips, this piece will be your middle section of the belt.
Pin the ends of the belt and sew a seam with about 1/2 an inch seam allowence.
Press seams open.
Step Three
Fold your belt in half with right sides facing and pin. Sew the end and side seam of the belt leaving one end open.
Turn the fabric tube right side out and press.
Step Four
Fold unfinished edges of the open end in and pin.
Top stitch around the edge of the entire belt leaving about a 1/8 to 1/4 of an inch edge.
There you have it a quick sash or obi belt.
Because of the belts length you can tie it a bunch of different ways. Wrap it around as many times as you can and tie a small knot. Wrap it around twice and tie a dramatic bow at the front.


No comments:
Post a Comment